Every successful website eventually outgrows its original server. When your site experiences slow load times or frequent downtime, it is clearly time for an upgrade. Many business owners ask how to move your website to a new host safely without losing valuable data. While the process sounds highly technical, anyone can accomplish it with careful planning.
Let us explore the exact steps needed to transition your digital presence smoothly and securely.
Understanding the Website Migration Process
Transferring a website to a different server often feels incredibly intimidating for business owners. The fear of crashing the site or losing crucial customer data keeps many people stuck with bad hosting.
However, understanding the website migration process eliminates this unnecessary anxiety. By breaking the entire project down into a logical, step-by-step procedure, you ensure zero downtime.
This methodical approach thoroughly protects against data loss and keeps your site visible to your visitors throughout the entire transition.
Choosing the Right Web Hosting Provider
You must select a high-quality host before moving any of your digital files. Migrating a site requires effort, so you want to ensure the move is actually worth your valuable time.
Evaluate your new server options strictly based on better loading speed, reliable server uptime, and highly responsive customer support.
A premium hosting provider often provides superior security features and optimized server environments. Choosing the correct foundation guarantees your website performs flawlessly for years to come.
Preparing Your Current Website for Transfer
Thorough preparation is the absolute key to a safe and successful move. Before touching any server settings, you must carefully audit your current site architecture.
Take this opportunity to clean up your dashboard by deleting unused plugins, outdated themes, and unnecessary media files to make the transfer lighter.
Furthermore, you must completely freeze any new content publishing. Halting new blog posts, comment approvals, or product updates ensures you do not leave any fresh data behind on the old server during the active transfer window.
Creating a Complete Backup of Your Data
Creating a failsafe restore point is the most critical step of this entire project. You must save all your specific digital assets locally before altering any server settings or pointing your domain name somewhere else. This guarantees you can instantly restore your site on the old host if anything unexpected occurs during the transition.
- Website Core Files: Downloading all folders from the root directory via FTP.
- Database Export: Exporting all tables securely using a database management tool like phpMyAdmin.
- Email Accounts: Saving local copies of custom domain emails if they are currently hosted on the exact same server.
Setting Up Your New Hosting Environment
Your new server is essentially a blank slate. Before it can display your website to the world, you must prepare the environment to receive all of your old data. Reconstructing your site architecture on a brand new server requires three distinct technical steps to ensure everything connects properly.
Creating a New Blank Database
First, you need a secure container for your data. Log into your new hosting control panel and create a fresh, blank database. Be sure to generate a new database username and a highly secure password during this step, as you will need these exact credentials shortly.
Uploading Your Stored Website Files
Next, you must move your physical site files. Connect to your new server using an FTP client and upload the core folders you previously downloaded. Place these files directly into the root directory, usually named public_html, so the server knows exactly where to find them.
Importing Your Saved Database Records
Finally, you must populate your empty database. Open phpMyAdmin on your new host, select the blank database you just created, and use the import tool to upload your saved database file. This action instantly restores all your written content, user data, and specific site settings.
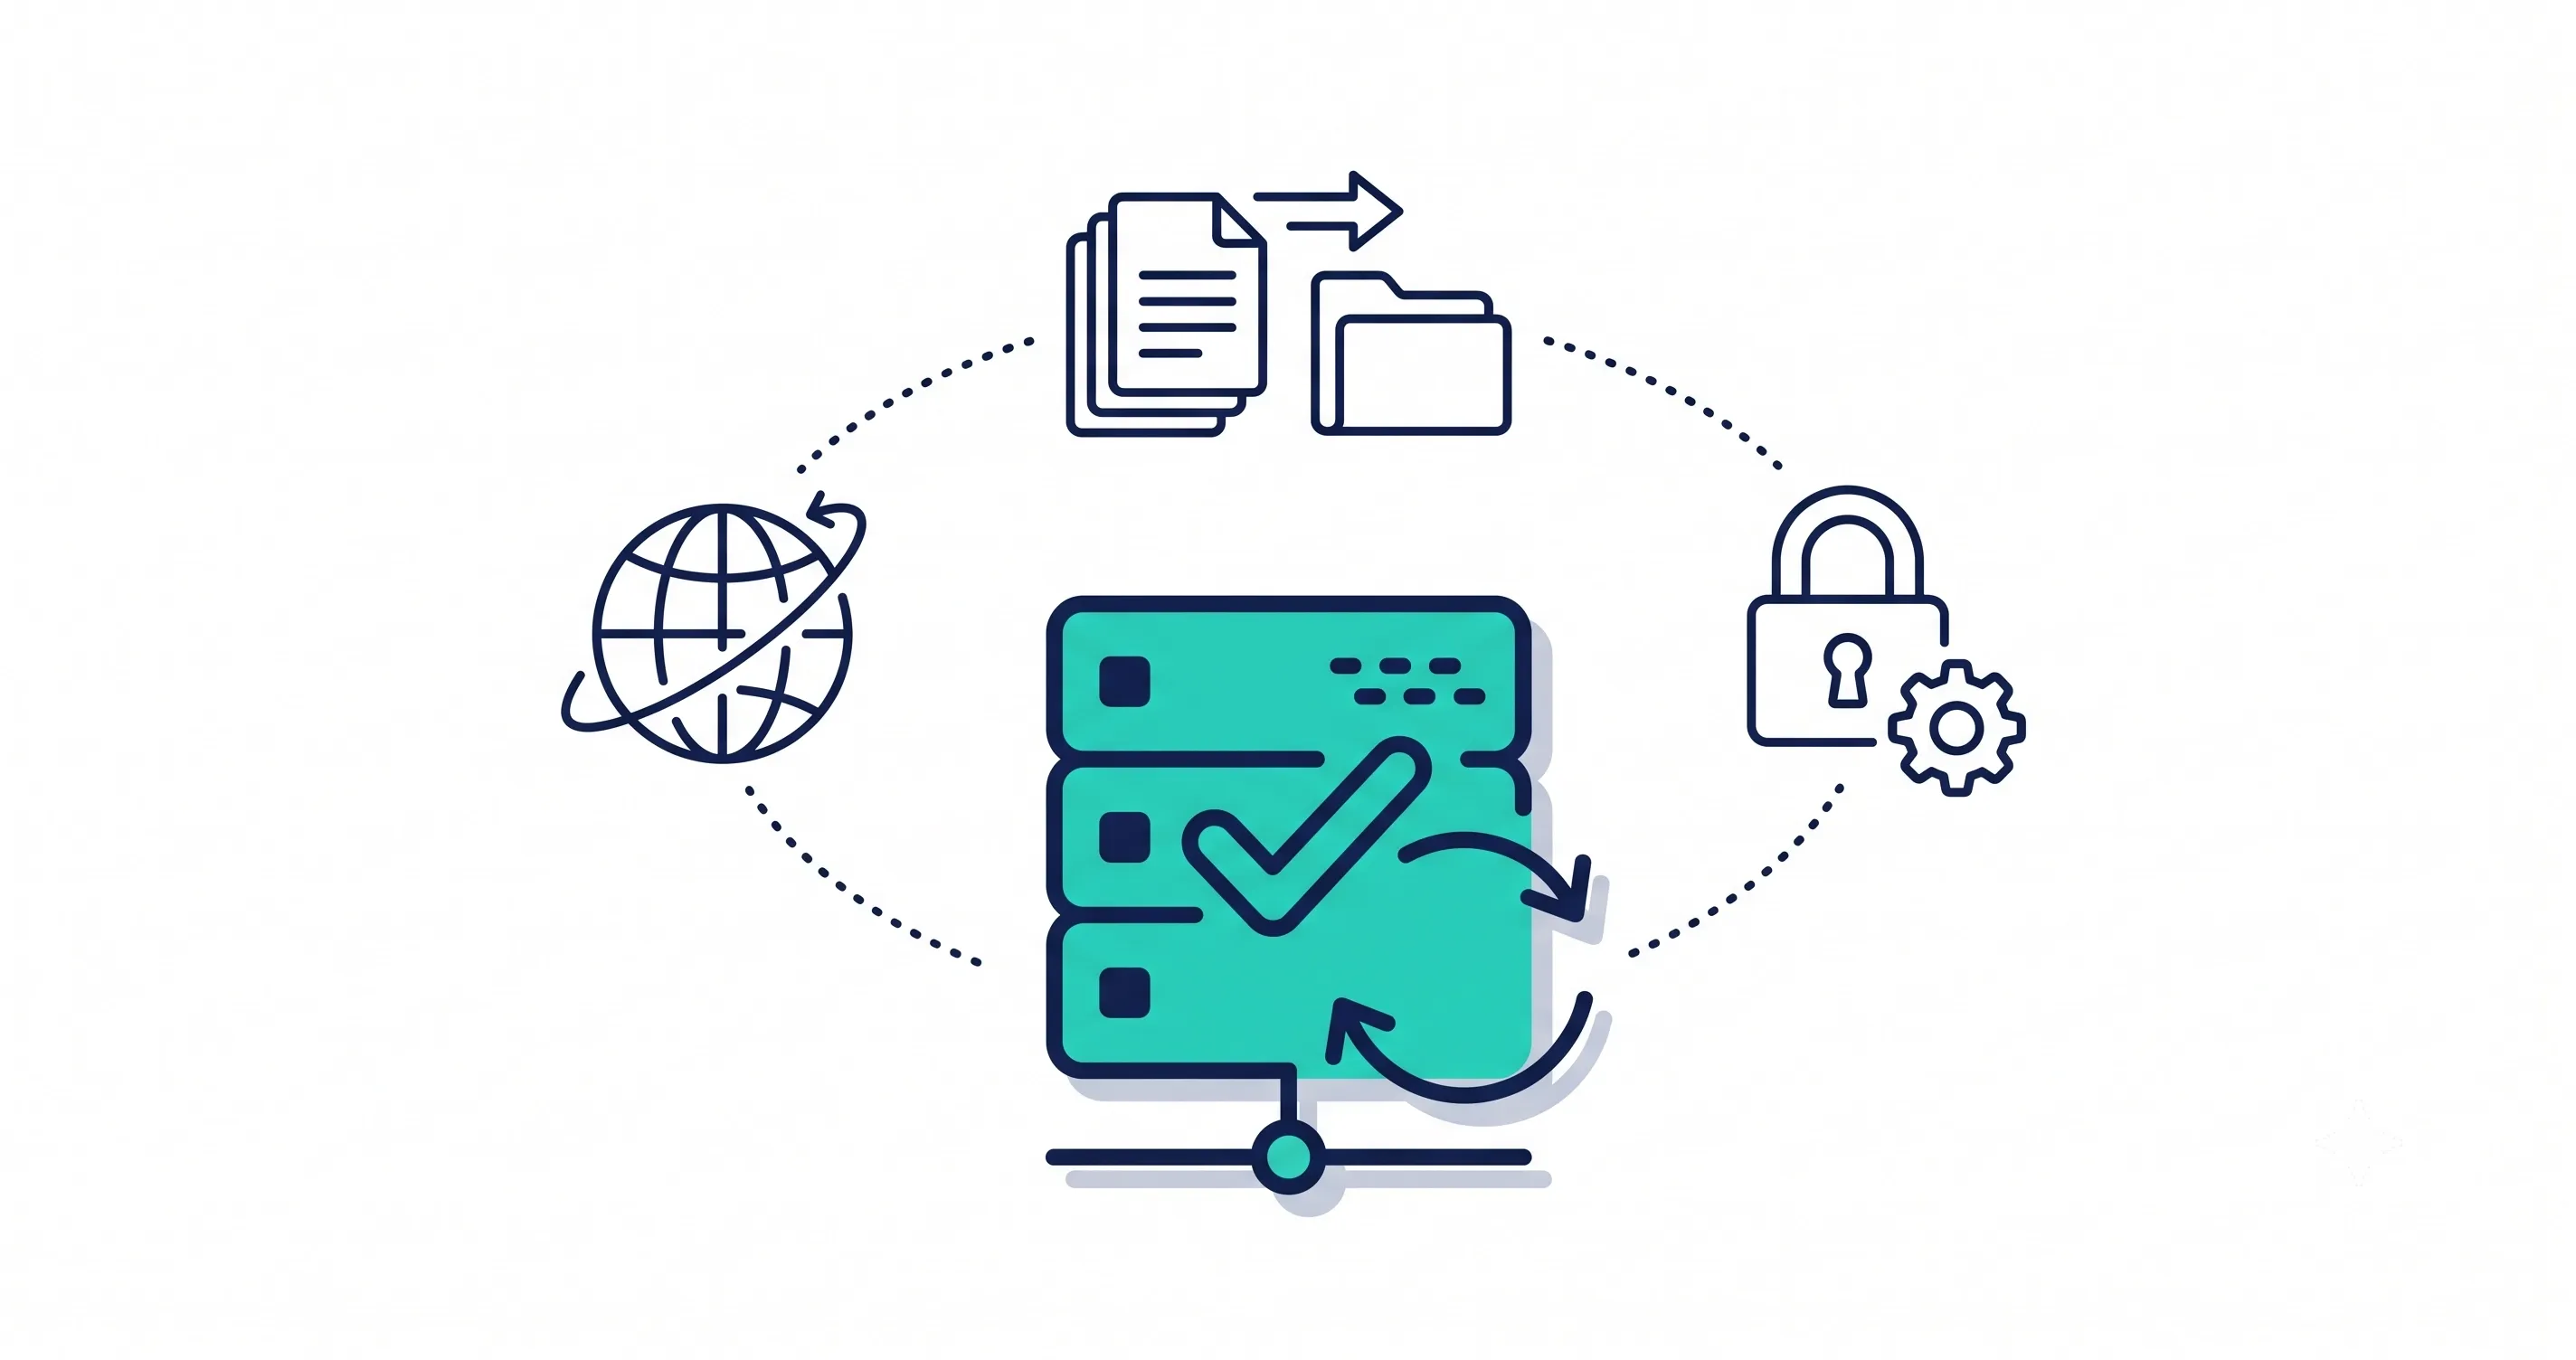
Updating Configuration Files for Your Site
Your newly uploaded files cannot automatically talk to your imported database. You must manually connect them by updating your core configuration files.
For example, if you use WordPress, you must locate and edit the wp-config.php file. Update the database name, database username, and password fields with the fresh credentials you created on the new server. Saving these changes allows your website files to securely access the database and display your content correctly.
Are you feeling overwhelmed by the technical details? Contact our expert web development team today for professional, zero-downtime migration assistance.
Pointing Your Domain Name to the New Host
Once the new server is fully configured, you must tell the internet where to find it. This involves making the final switch by logging into your domain name registrar.
You will need to replace the old nameservers or update the A records to point directly to your new hosting provider. Keep in mind that DNS propagation can take several hours to complete globally.
During this waiting period, internet traffic might temporarily route to both the old and new servers depending on the visitor’s geographic location.
Testing Your Website Post Migration
The migration is not truly complete until you verify everything works perfectly. You must perform critical post-launch checks to ensure the transition was entirely successful. Taking the time to test your live site prevents unexpected user experience issues.
- Checking Internal Links: Ensuring no pages or images return broken errors.
- Testing Contact Forms: Verifying that new form submissions reach the correct email address.
- Verifying SSL Certificates: Confirming the site remains secure with a valid HTTPS connection.
Popular Tools for Automating the Migration
Moving a site manually requires significant technical knowledge. Fortunately, developers have created excellent software to help automate this complex process for beginners. These popular plugins securely package your entire site and deploy it onto the new server with minimal effort.
Tool Name | Primary Use | Best For |
Duplicator | Full Site Cloning | Advanced Users |
All-in-One WP Migration | Easy Exporting | Beginners |
UpdraftPlus | Automated Backups | General Safety |
Conclusion
Upgrading your server drastically improves your digital presence. Moving a website safely requires patience. You must pay strict attention to every technical detail. However, the reward of better site performance is ultimately worth it. Faster load times and reliable uptime keep your visitors happy.
Are you ready to upgrade your hosting experience? Contact our web experts today to book a custom web service consultation.
Share this article